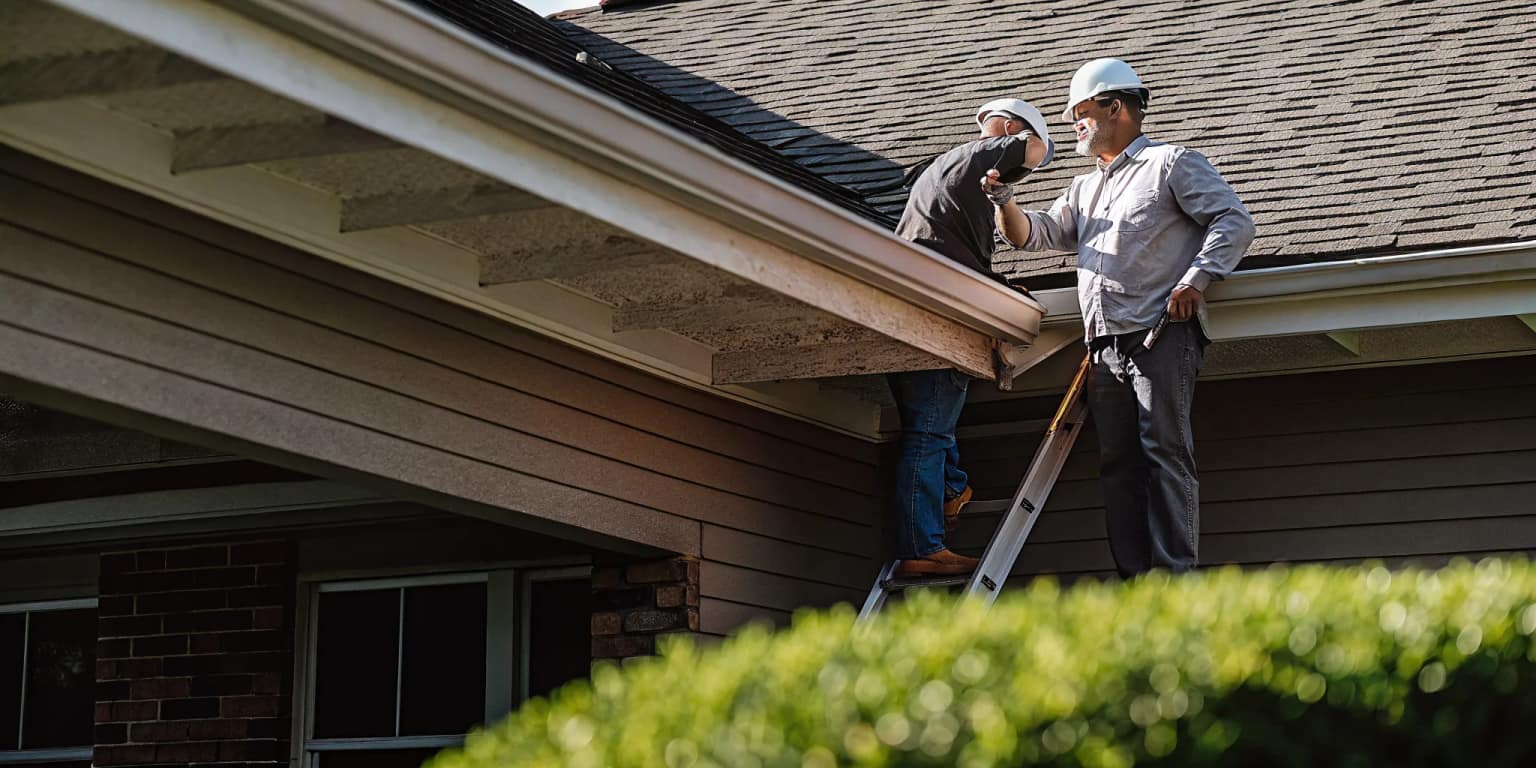
After a Texas hailstorm or wind event, the insurance inspection can feel like the most important appointment on your calendar. A roof insurance adjuster inspection gives the insurer a documented view of the damage, its likely cause, and the repairs that may be needed. It does not automatically approve or deny a claim. Knowing the process helps you prepare useful records, ask better questions, and avoid surprises.
Schedule a free professional roof inspection before the adjuster's visit so you have clear, roof-specific documentation ready.
For homeowners in Houston and Austin, the smartest preparation often begins with a professional roof inspection. A roofer can identify storm-related issues, document what they see, and attend the adjuster's appointment when appropriate. The insurance company still makes all coverage decisions under your policy.
What is a roof insurance adjuster inspection?
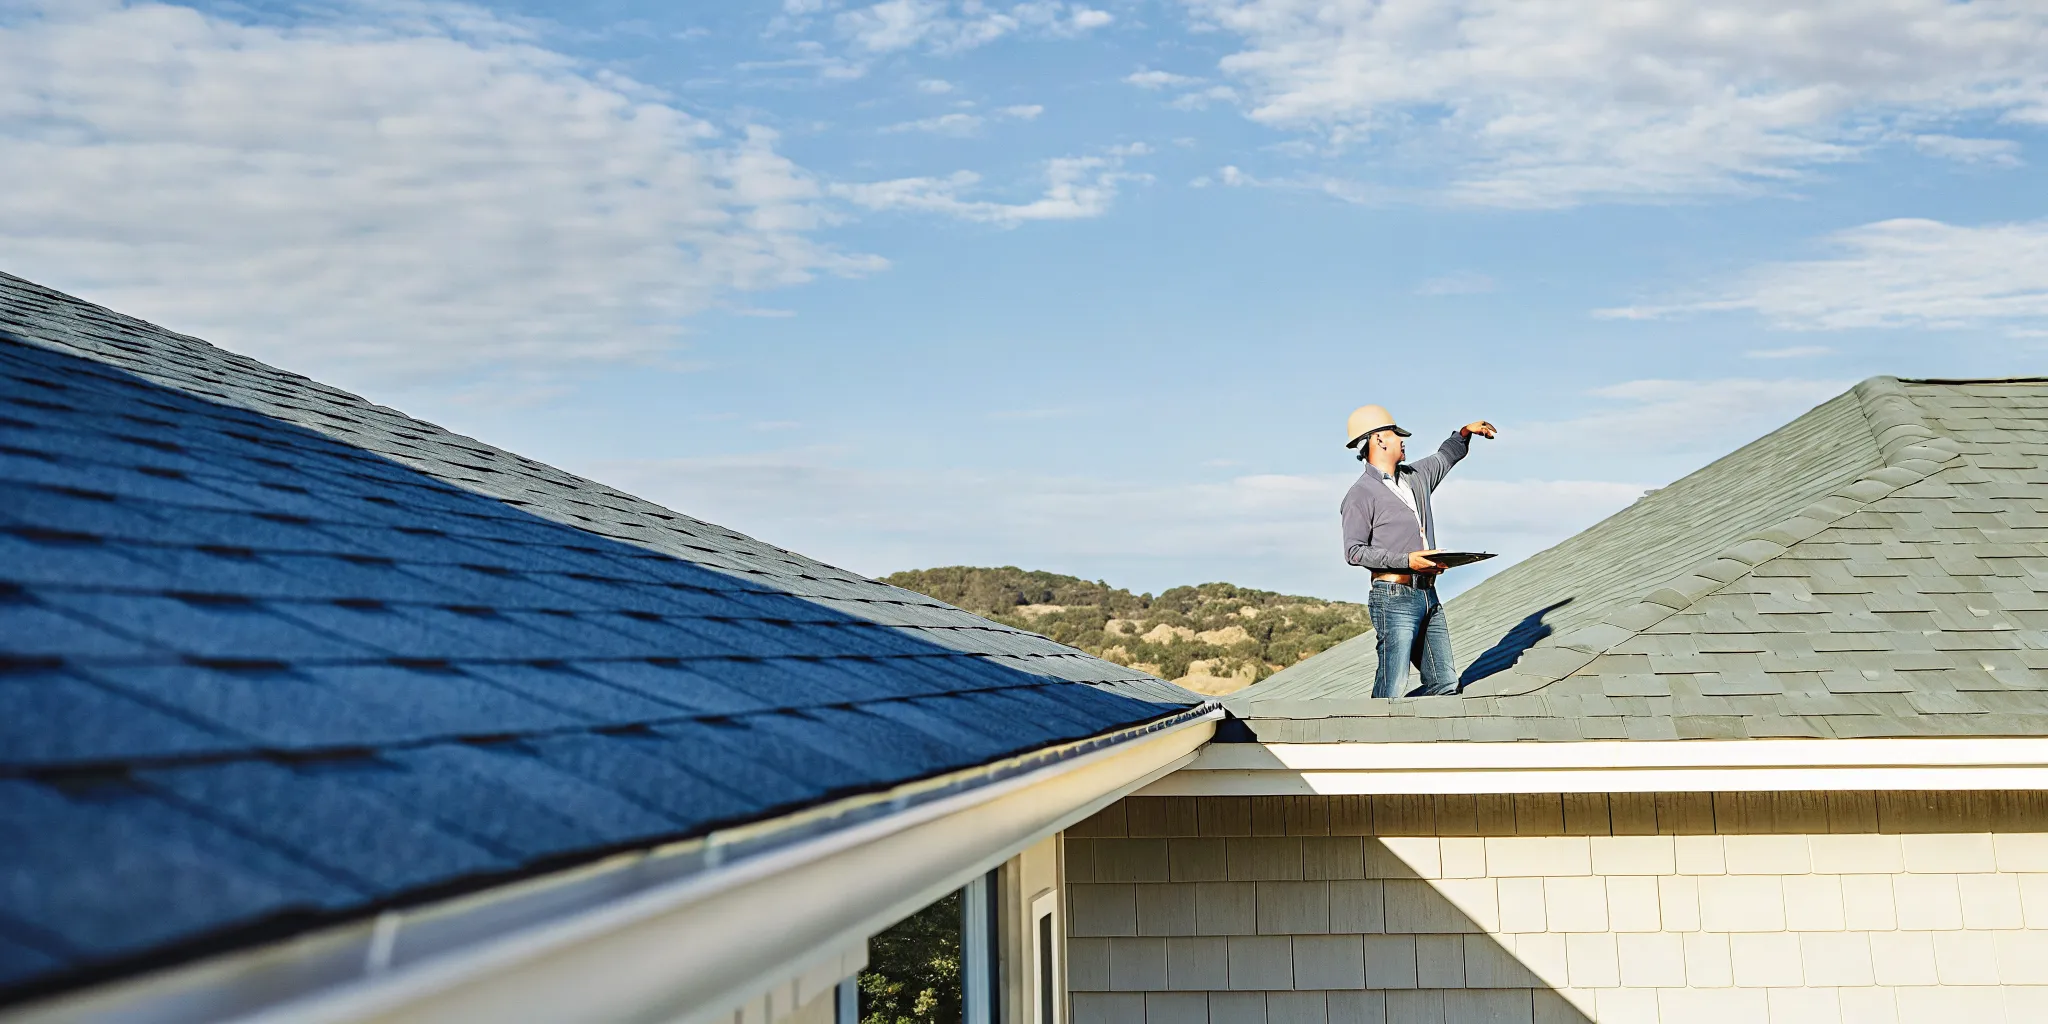
A roof insurance adjuster inspection is the insurer's on-site assessment after you report possible roof damage. The adjuster gathers evidence for the claim file. That evidence may include photographs, measurements, notes about the roof's condition, and observations about damage to gutters, siding, ceilings, or other connected areas.
The adjuster's role
The adjuster represents the insurance carrier and documents the loss according to the carrier's process. They may be an employee of the insurer or an independent adjuster assigned to the claim. Their report helps the carrier determine whether the damage is covered and what scope may apply.
The roofer's role
A roofing contractor evaluates the roof from a repair and replacement perspective. The roofer can point out damage, share photographs, discuss roofing components, and prepare a repair estimate. However, the roofer cannot interpret your policy for the insurer or promise that a claim will be approved.
How to prepare before the adjuster arrives
Good preparation makes the appointment more efficient and gives the adjuster a clearer record of what happened. Keep everything factual and organized.
- Confirm the appointment and claim number. Ask who will attend, the expected arrival window, and whether the adjuster needs interior access.
- Write down the damage timeline. Note when the storm occurred, when you first noticed a leak or exterior damage, and what changed afterward.
- Gather photographs and videos. Include safe ground-level photos, interior stains, fallen branches, damaged gutters, and images taken before temporary repairs.
- Collect receipts. Save invoices for emergency tarping, water removal, or other reasonable steps taken to prevent additional damage.
- Make access easy. Unlock gates, clear the driveway, secure pets, and identify attic access if the adjuster requests it.
- Coordinate with a trusted roofer. Ask whether your contractor can attend and share roof-specific documentation.
Do not climb onto a wet, steep, or damaged roof yourself. Photograph only what you can safely reach. If active leaking continues, take reasonable temporary steps to limit further damage and keep records of the work.
What will the insurance adjuster inspect?
The exact inspection depends on the reported loss and the property. A typical visit starts with a walk around the home before moving to the roof, attic, or interior as needed.
Roof covering and components
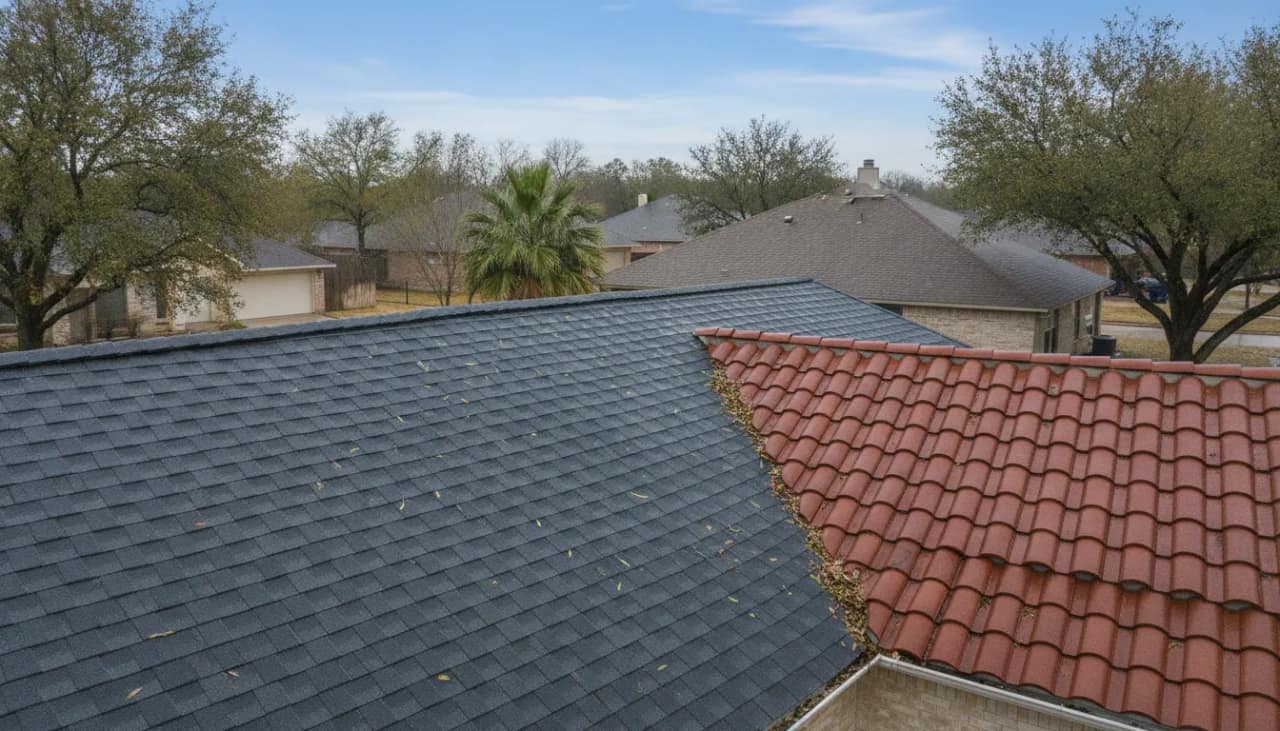
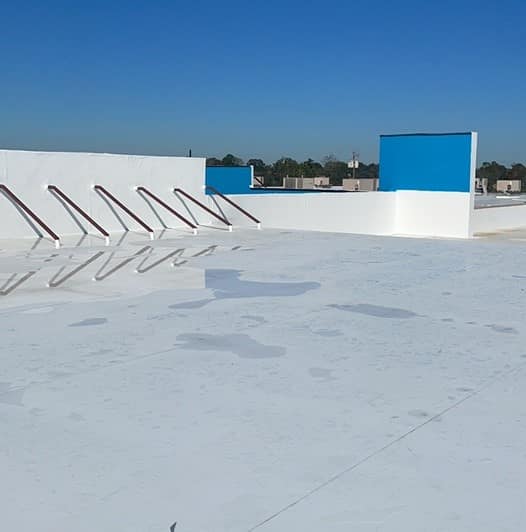
On an asphalt shingle roof, the adjuster may look for missing, creased, lifted, cracked, or impacted shingles. They may also examine flashing, vents, pipe boots, ridge caps, valleys, and roof penetrations. On tile, metal, or flat roofing systems, the visible indicators and inspection approach differ.
Exterior and drainage
Gutters, downspouts, window screens, siding, fences, and outdoor equipment can provide additional evidence about a storm's direction and intensity. The adjuster may photograph these areas and note damage related to the reported event.
Attic and interior
If you reported a leak, the adjuster may inspect attic decking, insulation, ceilings, and walls. Water stains show where moisture appeared, but determining the entry point may require careful roof-level evaluation. Make sure affected rooms are accessible and share any photos showing how the leak developed.
What happens during the inspection appointment?
Most appointments follow a straightforward sequence, although the details vary by carrier, adjuster, roof design, and weather.
Arrival and initial conversation
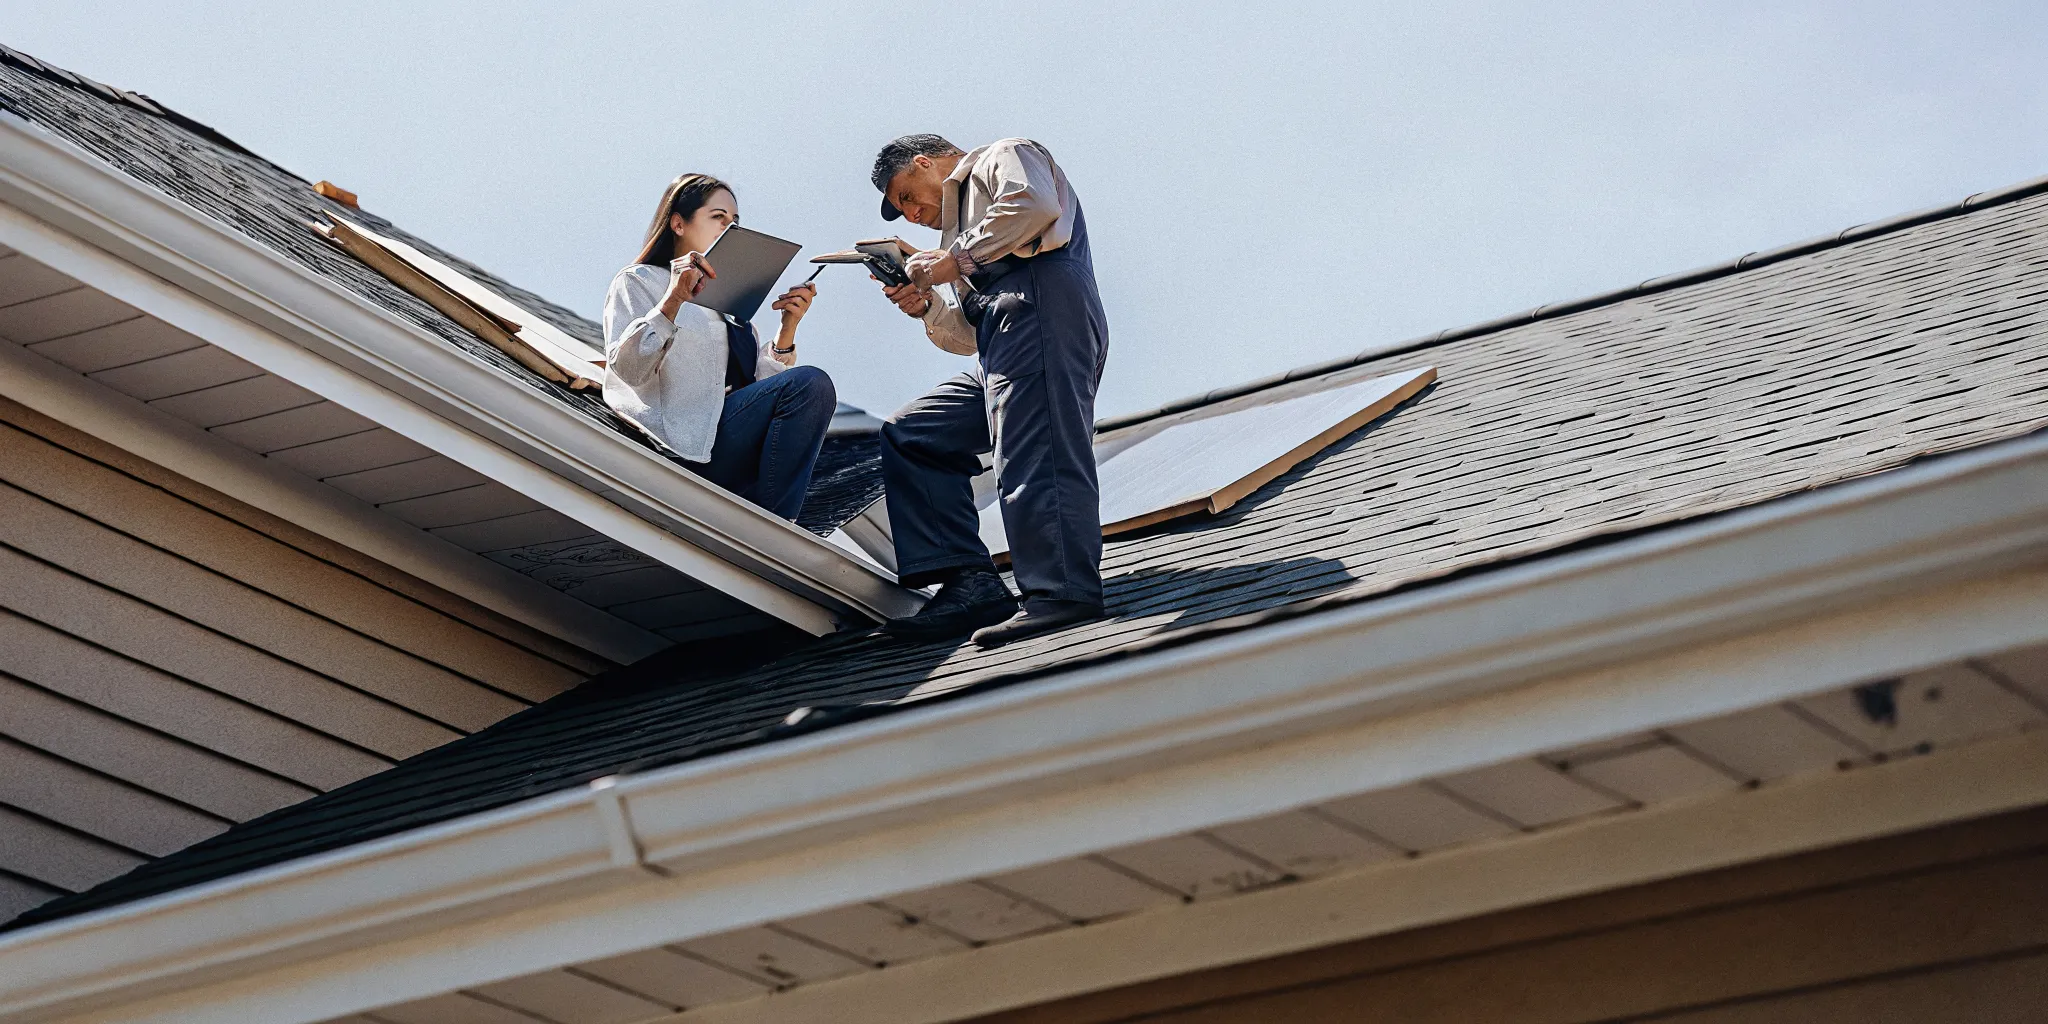
The adjuster usually confirms the reported date and type of loss, then asks what you noticed. Give concise, factual answers. Share your timeline, photographs, temporary-repair receipts, and contractor documentation. Avoid guessing about damage you have not personally observed.
Property and roof assessment
The adjuster walks the exterior, photographs relevant conditions, and may take measurements. If roof access is safe, they may inspect the surface and mark or photograph areas of concern. They may also check interior rooms or the attic when leaking is part of the claim.
Wrap-up
Before the adjuster leaves, ask what happens next, whether more documents are needed, and who to contact with questions. The adjuster may not give an immediate coverage decision. Their findings generally must be reviewed through the insurer's claim process.
Should your roofer meet the insurance adjuster?
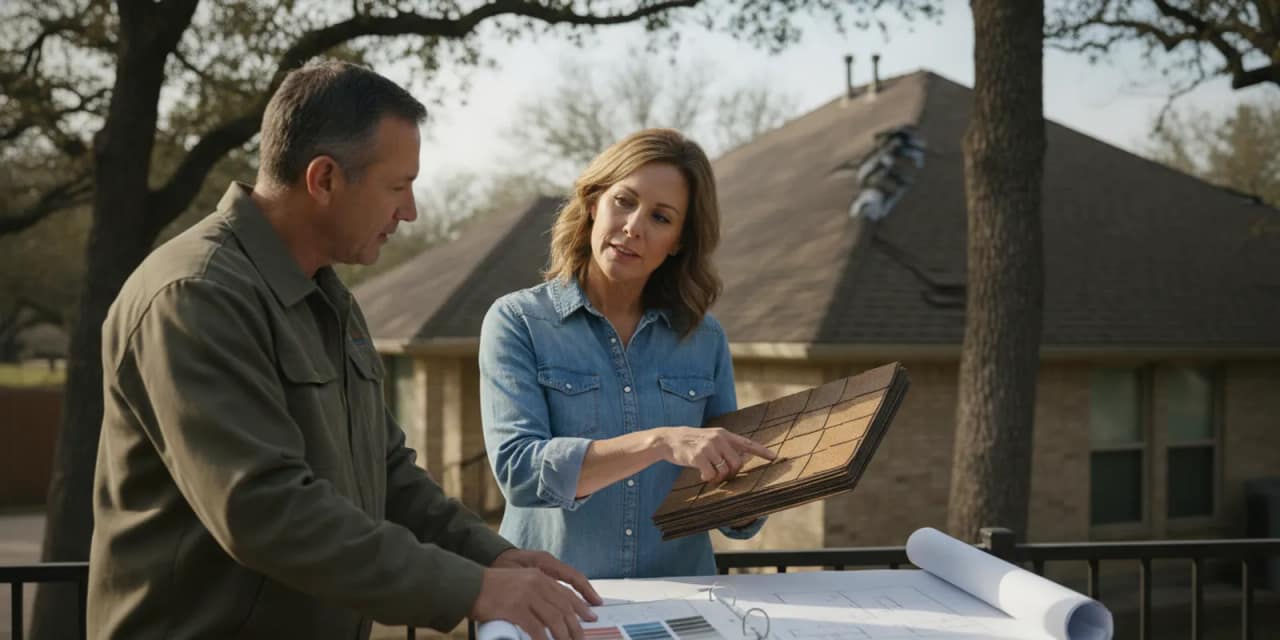
Having a knowledgeable roofer present can be useful, especially when storm damage is subtle, the roof has multiple materials, or the property has hard-to-access areas. Elevation Roofing & Restoration helps property owners document roofing conditions and communicate roof-specific observations during the process.
Why contractor documentation matters
A contractor can bring photographs, measurements, and notes from an earlier inspection. They can identify the function of damaged components and explain why certain repairs may be needed. This creates a clearer technical conversation without changing who decides coverage.
Keep the roles clear
The adjuster documents the claim for the carrier. The contractor recommends roofing work and provides an estimate. The homeowner supplies accurate information and makes decisions about the property. Clear roles keep the appointment productive.
Learn more about Elevation's roofing services for residential and commercial properties in Houston, Austin, and surrounding Texas communities.
What happens after a roof insurance adjuster inspection?
After the visit, the adjuster completes a report and submits documentation for review. The insurer may send a coverage letter, estimate, payment explanation, request for more information, or another communication. Timing varies, so ask your claim contact when you should expect an update.
| Party | Typical responsibility | Helpful next step |
|---|---|---|
| Insurance adjuster | Documents observed conditions and prepares the claim report | Provide requested factual records |
| Roofing contractor | Documents roofing damage and develops a repair scope or estimate | Compare the contractor scope with claim documents |
| Homeowner | Reviews communications and supplies accurate information | Ask questions about unclear or missing items |
Review the scope carefully
Compare the insurer's documents with the contractor's findings. Look for differences in roof area, damaged components, accessories, and related interior work. A difference does not automatically mean either document is wrong, but it may identify questions worth raising.
Understand your policy responsibilities
Deductibles, depreciation, exclusions, deadlines, and payment steps depend on the specific policy and claim decision. Direct policy questions to your insurer or qualified adviser. Keep copies of every email, letter, estimate, invoice, and photograph.
Contact your local Elevation Roofing & Restoration team if you need help documenting roof conditions before repairs begin.
Beyond roof damage, storms may affect gutters and other exterior components. Review Elevation Roofing & Restoration's gutter and restoration services when building a complete repair scope.
What if the adjuster misses roof damage?
If you believe an item was overlooked, start by reviewing the claim documents and the contractor's report side by side. Identify the exact component or area in question. Then contact the insurer using the process listed in your claim materials.
Submit focused supporting evidence
Clear photographs, measurements, repair estimates, and brief explanations are more useful than general statements. Ask your roofer to document why the condition appears related to the reported event and what repair is recommended. Avoid altering or discarding damaged materials before the insurer has had an opportunity to review them.
Ask about the next review step
The insurer may request more documentation, speak with the contractor, or schedule another inspection. Follow the carrier's process and meet any stated deadlines. Houston and Austin storms can affect neighboring properties differently, so focus on evidence from your own roof rather than relying on what happened at another home.
How to read the adjuster's roof estimate
An insurance estimate can look technical at first glance. It often divides the project into individual line items rather than describing the roof as one complete job. Review each section slowly and compare it with the contractor's written scope. The documents may use different wording while describing the same work.
Check quantities and components
Start with the measured roof area and the listed roofing material. Then look for related components such as underlayment, flashing, vents, ridge material, valleys, and disposal. Also check whether gutters, interior finishes, or other reported areas appear in the document. If a quantity or component is unclear, ask the claim contact to explain it.
Separate coverage from the repair plan
The insurer's estimate reflects its claim evaluation under the policy. A contractor's estimate reflects the work the contractor believes is needed to complete the roofing project. Those purposes are related, but they are not identical. Ask questions when the scopes differ rather than assuming the difference proves a mistake.
Keep a simple claim file
Create one folder for every document connected to the loss. Include emails, letters, estimates, photographs, receipts, and notes from phone calls. Add the date and name of the person you spoke with to each note. Good organization helps you answer requests promptly and makes it easier to track the claim from inspection through repairs.
Common mistakes to avoid during a roof claim
Avoid waiting too long to report known damage or active leaking. Policy notice requirements can vary, so contact the insurer promptly and follow its instructions. Do not throw away damaged materials, cover every visible condition, or begin permanent work before documenting the property and confirming the next step.
Another common mistake is relying on verbal conversations alone. Follow important calls with a short written summary and save copies of what you send. Finally, do not choose a contractor solely because someone appeared at your door after a storm. Review the contractor's experience, written scope, communication, and local reputation before authorizing work. You can also read Elevation Roofing & Restoration's customer reviews when evaluating your options.
Frequently asked questions
How long does a roof insurance adjuster inspection take?
The length varies with the property's size, roof complexity, accessibility, and extent of reported damage. Ask the adjuster for an expected window and keep enough time available for both exterior and interior review.
Do I need to be home for the inspection?
Being present is helpful because you can provide access, share documentation, and answer factual questions. If you cannot attend, confirm access arrangements and ask whether your roofer can be present.
Can an insurance adjuster approve a roof replacement during the visit?
Do not assume the on-site visit is the final decision. The adjuster typically documents findings for the carrier, and the insurer applies the policy terms before communicating its decision.
Should I repair my roof before the adjuster comes?
Take reasonable temporary steps to prevent additional damage, but document conditions before work begins and keep receipts. Ask the insurer about its inspection process before making permanent repairs when possible.
What documents should I keep?
Keep the claim number, policy communications, photographs, videos, storm timeline, contractor reports, estimates, receipts, invoices, and notes from conversations.
Schedule a roof inspection before the adjuster visit
A prepared homeowner and well-documented roof make the insurance inspection easier to navigate. Elevation Roofing & Restoration can inspect your roof, explain visible conditions, and help document storm damage for your adjuster appointment. Our team serves Houston, Austin, and surrounding Texas communities with responsive service and quality craftsmanship.
Call (832) 271-1726 to schedule a free roof inspection, or explore our service locations.