A skylight can bring welcome daylight into a Texas home. But placing a glazed opening in the roof requires more planning than choosing a bright spot on the ceiling. Summer heat gain, winter heat loss, roof framing, drainage, and the home's room layout all affect the result. The goal is a skylight that adds light and comfort without creating a future leak or an avoidable energy burden.
Skylight installation works best when the skylight is sized for the room, selected for the Texas climate, and integrated with the roof using proper flashing and sealing. The U.S. Department of Energy notes that skylight area should generally stay at or below 5% of floor area in rooms with many windows and 15% in rooms with few windows. A professional evaluation can confirm whether the roof structure and planned location support a new installation.
From fixed and vented designs to tubular models, each option solves a different lighting or ventilation need. Start by comparing the types available, then consider how each one will perform in your home's specific roof and room conditions.
Call Elevation Roofing & Restoration at (832) 271-1726 for a free skylight installation estimate and roof inspection.
What Are the Best Types of Skylights for Texas Homes?
Texas homes need skylights that bring in natural light without turning an upper room into a greenhouse. The right choice depends on whether you want fresh air, a view, or daylight in a space where a conventional window would not work. During skylight installation, your roofer should also consider the roof structure, ceiling height, and how much direct sun the room receives.
Fixed skylights for light and views
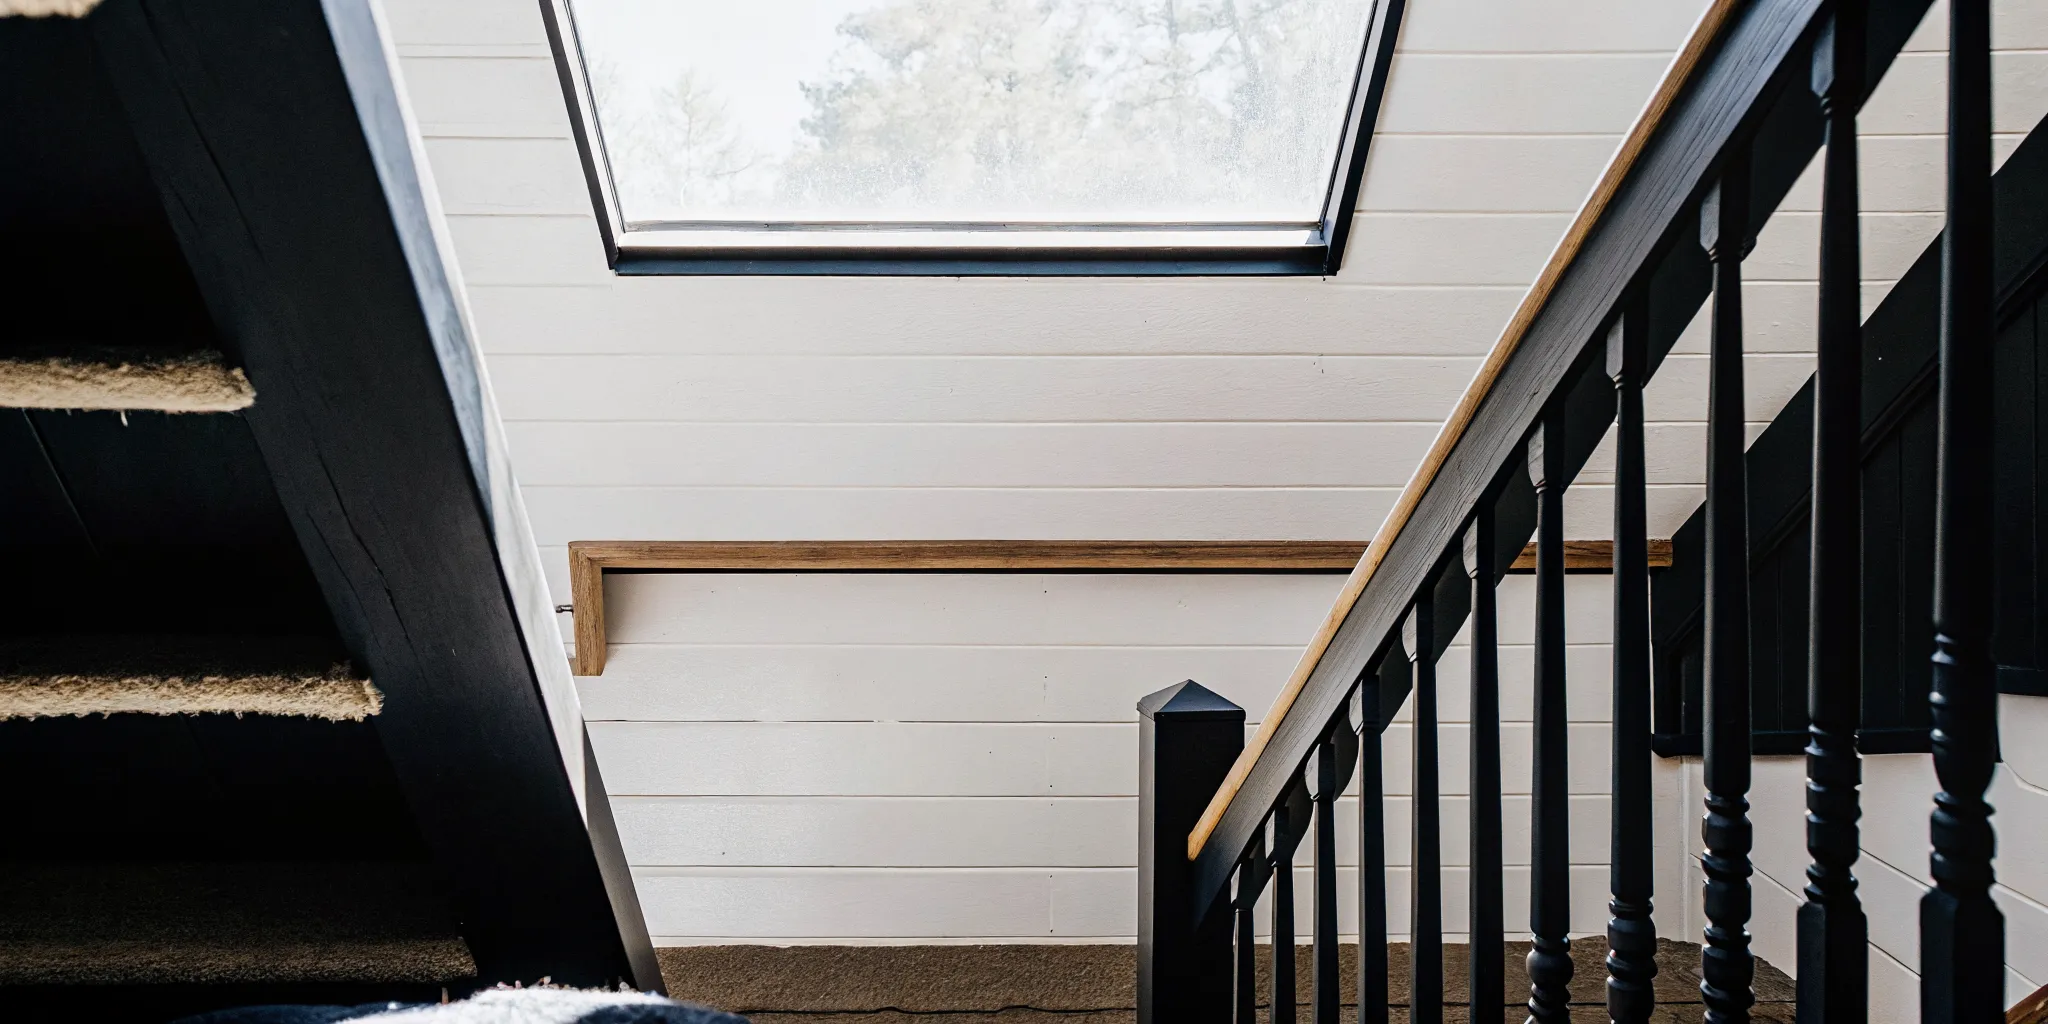
Fixed skylights do not open, but they can brighten kitchens, living rooms, stairwells, and other areas while providing an upward view. They are a straightforward option when ventilation is not needed. In Texas, fixed units should be paired with energy-conscious glazing, such as insulated glass, heat-absorbing tints, or low-emissivity coatings. These technologies help manage glare and solar heat gain, which is especially important during long, hot summers. The U.S. Department of Energy identifies these glazing options as ways to improve skylight efficiency: learn more about skylight energy performance.
Vented skylights to release trapped heat
Vented, or operable, skylights open to exchange indoor and outdoor air. Because hot air naturally collects near the ceiling, opening a vented skylight can help release that heat and improve comfort. This makes a vented model a strong recommendation for many Texas homes, particularly in rooms with high ceilings or limited cross-ventilation. Motorized models can add convenience, and some include moisture sensors that close the unit automatically when rain begins, a useful feature during Texas storm season.
Tubular skylights for compact spaces
Tubular skylights use a reflective tube to carry daylight into hallways, closets, interior bathrooms, and similar spaces. They are a practical choice when the goal is illumination rather than a view. Tubular designs generally do not provide ventilation or an outdoor view. But they can deliver daylight with less potential for heat gain or heat loss than a larger glazed opening.
Rooftop windows for specific rooms
Rooftop windows are larger, accessible units that may be designed for a view, ventilation, or emergency egress. Their placement and dimensions must fit the room and applicable local building-code requirements, so they are not interchangeable with a standard skylight.
- Choose vented units to help release hot air near the ceiling.
- Choose low-e, tinted, or insulated glazing to help control Texas heat and glare.
- Choose tubular units for closets and hallways where a view is not needed.
- Consider moisture-sensor auto-close features for added storm-season convenience.
For help matching a skylight to your roof system and home, review Elevation Roofing's roofing services in Texas before planning the project.
Where Should You Place a Skylight for Light Without Heat Gain?
Skylight placement matters as much as the unit itself. A well-positioned skylight can brighten a dark room and support natural ventilation, while a poorly positioned one can add unwanted heat during a Texas summer. Because skylights sit on the roof, they can increase summer heat gain and winter heat loss when the design, glazing, or orientation is not suited to the home. The U.S. Department of Energy explains how skylight design affects daylighting and energy performance.
Start with the room and the amount of glazing
Size the skylight around the room's existing windows, not simply the available roof space. As a practical rule of thumb, the skylight should be no more than 5% of the floor area in a room with many windows. In a room with few windows, that limit increases to 15% of the total floor area. Staying within those ranges helps bring in useful daylight without oversizing the opening and creating unnecessary solar gain.
- Rooms with many windows: keep the skylight at or below 5% of floor area.
- Rooms with few windows: keep the skylight at or below 15% of floor area.
- Consider ceiling height, roof pitch, room use, and existing shading before finalizing the size.
Choose the orientation for Texas conditions
North-facing skylights generally provide softer, more even light throughout the day, making them a strong choice when the goal is consistent illumination. South-facing units can contribute useful passive solar heat during winter, but Texas homeowners should pair them with low-e or other energy-efficient glazing and evaluate shading carefully. West-facing skylights deserve extra caution because they receive strong afternoon sun, when outdoor temperatures and cooling demand are often highest. Avoiding a west-facing placement, or adding appropriate shading and solar-control glazing, can help limit late-day heat gain.
Check climate ratings before installation
Glazing selection should match the local climate, not just the appearance of the skylight. ENERGY STAR criteria are based on climate-specific energy performance ratings developed with more detailed NFRC ratings. Review the ENERGY STAR and NFRC information for the unit being considered, then confirm that its glazing and solar-performance characteristics make sense for your Texas location. Placement should also be evaluated for daylight and ventilation opportunities as part of the home's overall design, rather than treated as an isolated roof cutout.
A qualified roofing professional can assess orientation, roof structure, shading, and room conditions together before recommending a skylight installation plan.
Flashing and Waterproofing: Why Skylight Installation Must Be Done Right
A skylight is only as dependable as the roof assembly around it. Cutting an opening through an existing roof changes the path water follows, so the rough opening, framing, flashing, and underlayment must work together. A properly installed unit should shed water into the surrounding roof system instead of relying on caulk to keep Texas rain outside.
What protects the rough opening?
Installation begins with a carefully measured rough opening. The roofer checks the roof structure and adds framing reinforcement when the existing layout cannot support the skylight without modification. The unit is then integrated into the roof deck with a flashing system designed for the roof material and slope. Step flashing along the sides and counterflashing above the unit direct water downhill and help prevent gaps where wind-driven rain could enter.
Waterproofing should extend beneath the visible flashing. Ice-and-water protection or an equivalent self-adhering underlayment is applied around the curb and opening before the surrounding roofing is restored. This secondary layer helps protect the roof deck if water gets beneath the outer shingles, tile, or metal. Durable sealant is used at specified joints and fasteners, but sealant should reinforce a complete system, not substitute for correctly installed flashing.
How does the roof system affect long-term performance?
Texas heat, intense sun, storms, and rapid weather changes make details at the opening especially important. During planning, the roof type, pitch, attic ventilation, and existing materials should be evaluated together. Proper attic ventilation should remain effective after the skylight is installed, because changing airflow or trapping heat can affect overall roof performance. The U.S. Department of Energy also notes that skylights can contribute to unwanted summer heat gain or winter heat loss when they are not properly designed. Making glazing and installation choices part of the same decision helps avoid an underperforming or leak-prone result. Energy-efficient skylight guidance covers options such as low-e coatings and insulated glazing.
- Confirm the rough opening and roof framing before cutting.
- Use step flashing, counterflashing, and underlayment as a coordinated system.
- Evaluate attic ventilation and roof drainage around the finished unit.
- Check local code if a larger roof window may serve as an emergency exit.
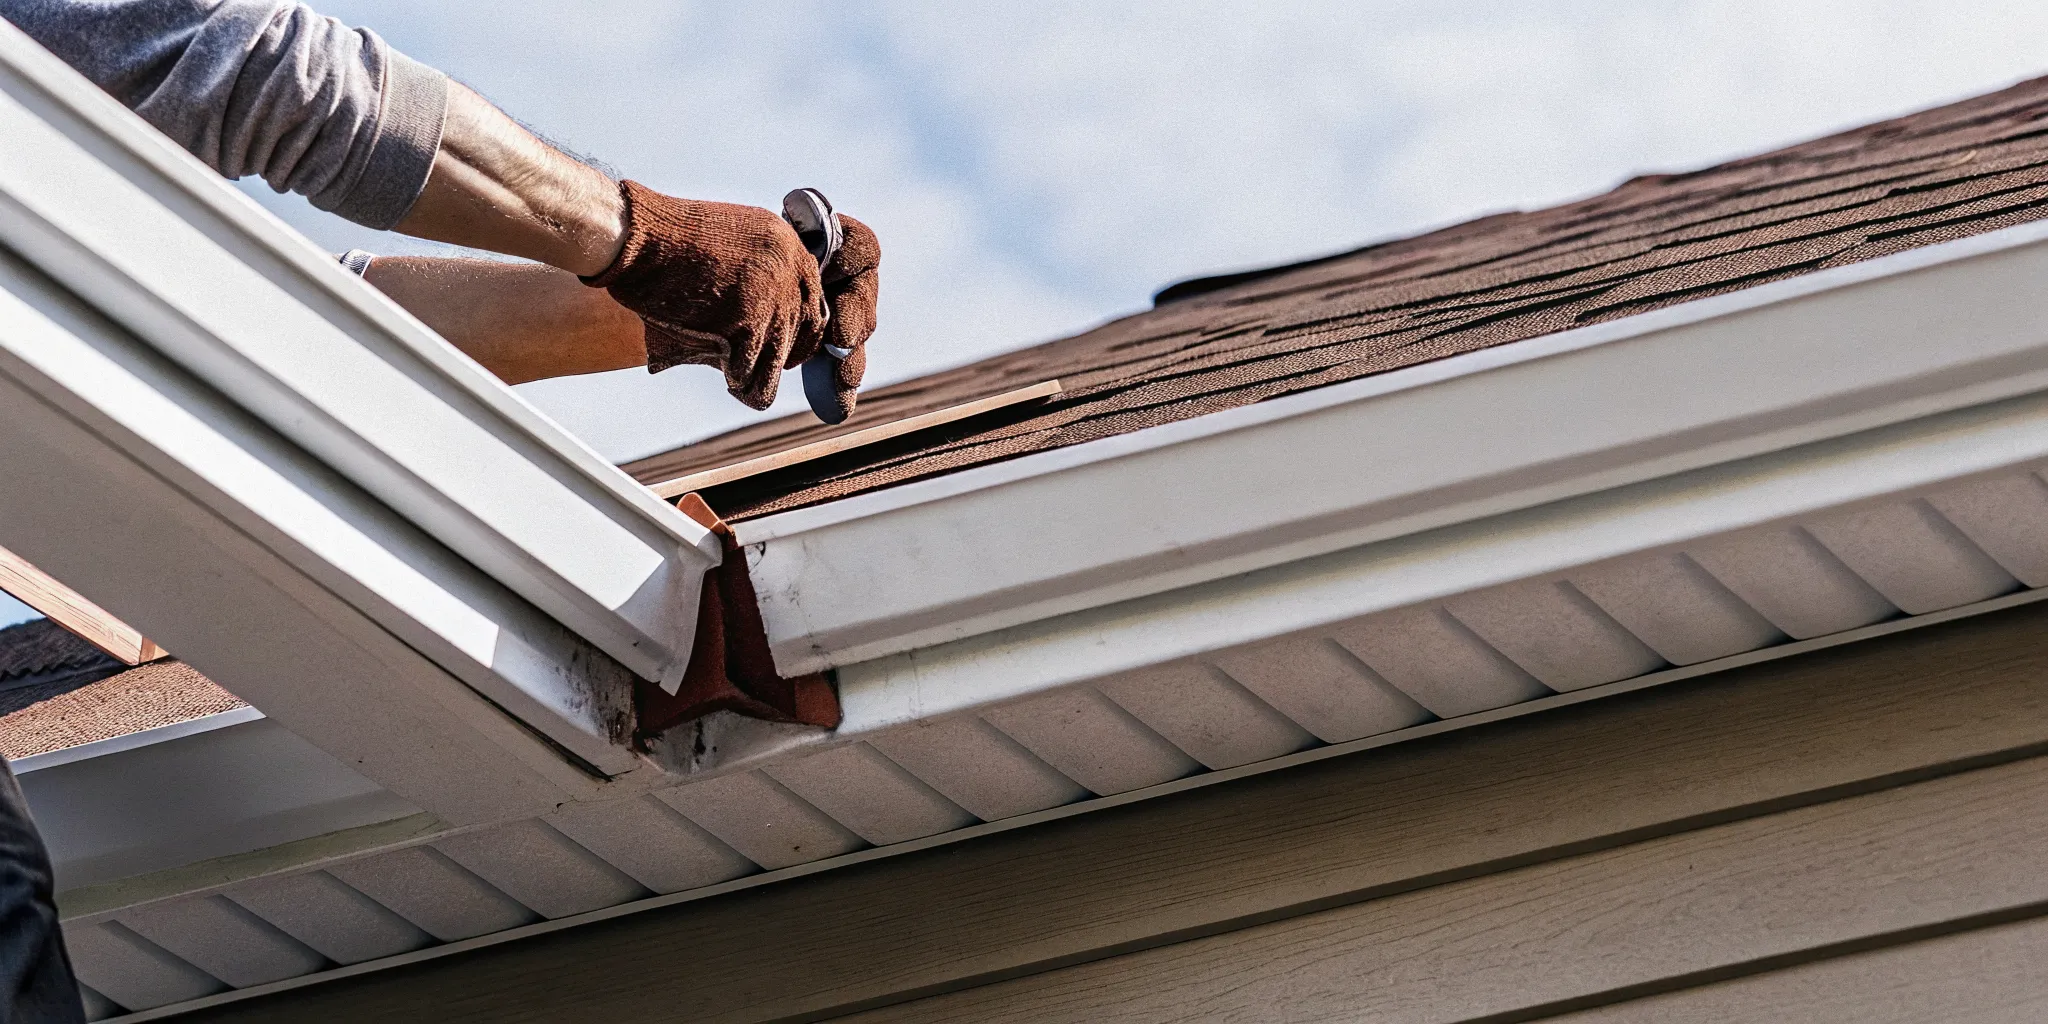
Larger skylights positioned within a few feet of the floor may qualify as egress roof windows, but the location and dimensions must meet applicable local building requirements. For a watertight result, Elevation Roofing uses seal and leak-prevention techniques while integrating the opening with the existing roof. Explore skylight installation and other specialty services to plan the project with the full roof system in view.
Get a clear skylight installation quote with a free roof inspection from Elevation Roofing & Restoration. Call (832) 271-1726 today.
How Much Does Skylight Installation Cost in Texas?
As a broad planning estimate, skylight projects often average around $1,500, with a typical reported range of approximately $900 to $2,300. That range is not an Elevation Roofing price or a guaranteed Texas quote. Your final cost depends on the skylight selected, the roof system, interior access, and the amount of framing or finish work required.
| Skylight type | Unit | Framing and flashing | Typical project range |
|---|---|---|---|
| Fixed | Usually the simplest unit. | Standard opening and weatherproofing. | About $900-$1,800. |
| Vented | Higher-cost operable unit. | Additional installation and controls. | About $1,300-$2,300. |
| Tubular | Compact daylighting unit. | Smaller roof opening and ceiling diffuser. | Quote required. |
Roof pitch is one of the first factors a roofer evaluates. A curb-mounted skylight is generally used on roofs with a pitch under 3:12, while a deck-mounted unit is generally suited to pitches over 3:12. The mounting approach affects the opening, flashing design, labor, and how the skylight integrates with the existing roof covering.
Texas homeowners may also choose electric openers for hard-to-reach vented units. Adding controls, wiring, or a moisture-sensor feature can increase the project scope. Interior work matters too: drywall repairs, a light shaft, trim, or repainting may be needed when the ceiling below does not align directly with the roof opening.
Quality flashing deserves attention because it protects the roof opening and the investment around it. A skylight project may take anywhere from half a day to three days, depending on complexity. Before work begins, request a site-specific quote that accounts for pitch, curb or deck mounting, framing, flashing, electrical needs, and interior finish work. A professional inspection is the only reliable way to establish your actual price.
Can You Install a Skylight Yourself, or Should You Hire a Roofer?
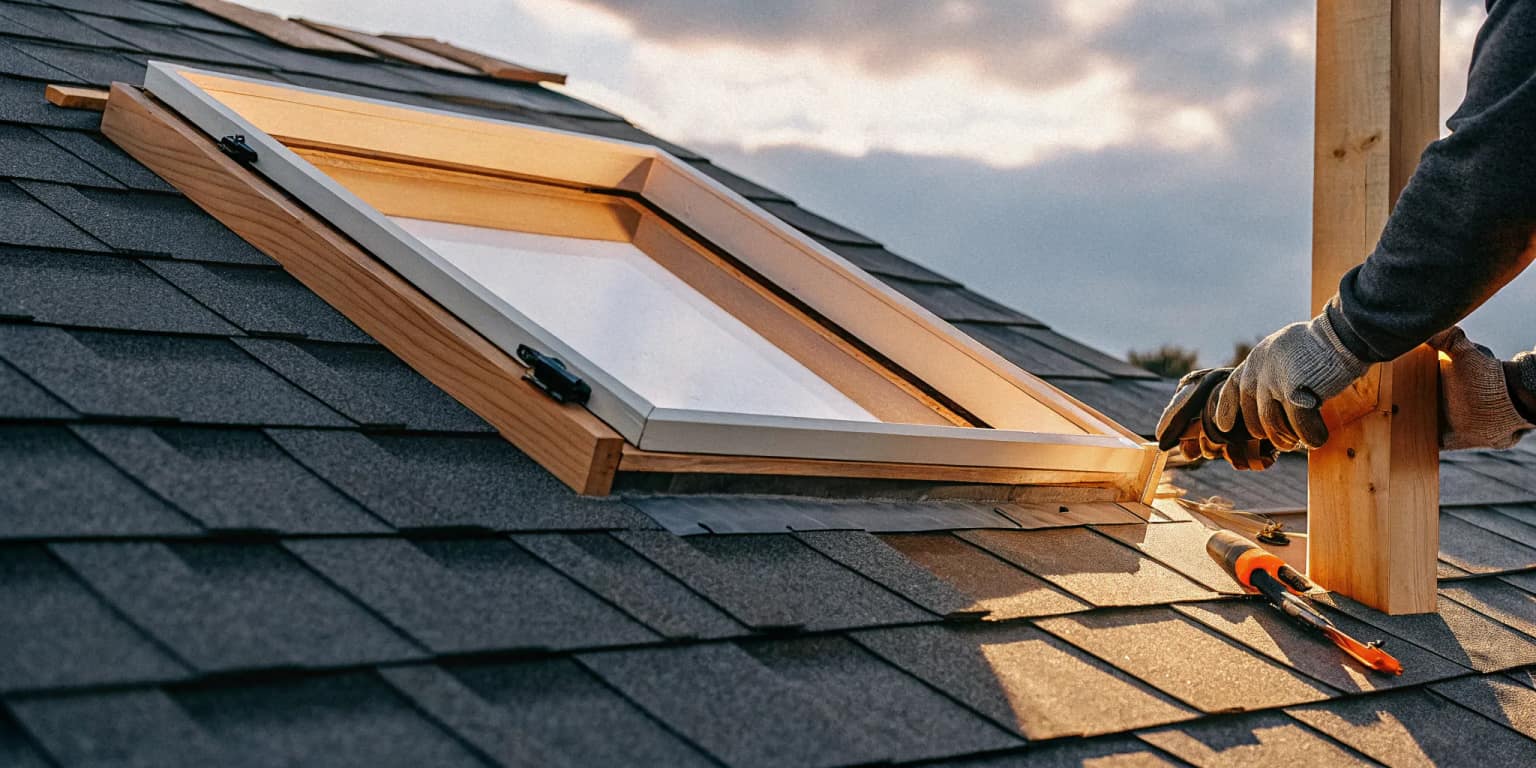
A skylight installation may look like a manageable weekend project, but it changes both your roof and ceiling. The work typically includes locating the opening, cutting and framing a rough opening, fitting the skylight, installing flashing, applying compatible sealants, and finishing the interior drywall. Each step must align with the existing roof system so water can move around the unit rather than into the attic.
That is why professional installation is generally recommended for structural integrity, correct sealing, and reduced risk of interior water damage. A roofer can evaluate whether the roof structure needs additional framing reinforcement before cutting. And can account for the roof pitch, existing materials, attic ventilation, and any electrical work required by an automated model. Complexity varies, so the project may take from half a day to three days.
What can go wrong with a DIY skylight project?
- A poorly framed opening can weaken the roof structure or leave the skylight improperly supported.
- Incorrect flashing or sealant can create leaks that damage shingles, decking, insulation, drywall, and interior finishes.
- Cutting into the roof may complicate manufacturer shingle warranty coverage if installation requirements are not followed.
- Working on a steep roof pitch creates fall and handling hazards, especially in Texas heat and changing weather.
Flashing experience matters more than simply knowing how to set a window. The installer must integrate the unit with the roof's water-shedding layers and inspect the surrounding materials after the opening is made. An experienced roofing contractor can also explain whether a fixed, vented, or tubular design fits the room and roof.
Elevation Roofing & Restoration brings roofing expertise and uses the exact credential designation Owens Corning and GAF Certified. For new work, see the professional roof installation process to understand how roof components are integrated. This article covers new skylight installation; if an existing unit is leaking or damaged, use the skylight repair guide instead.
What Does the Professional Skylight Installation Process Look Like?
A successful project begins before anyone cuts into the roof. A qualified roofing crew evaluates the home as a connected system, accounting for the roof covering, attic conditions, framing, interior ceiling, and drainage path. This approach helps protect the roof warranty by making sure the skylight is integrated with the existing roofing system instead of treated as a separate window project.
Although every home is different, the work usually follows a careful sequence:
- Site visit and attic inspection. The installer reviews the proposed room, roof pitch, ceiling type, and access points. From the attic, the crew checks rafters, trusses, insulation, wiring, and ventilation before recommending a location. Existing framing and attic conditions can change the scope, so this inspection is essential for protecting structural integrity and maintaining sound roof performance.
- Product selection and quote. The crew helps select a skylight based on the room's daylighting goals, ventilation needs, roof configuration, and glazing requirements. Low-e coatings, insulated glazing, and heat-absorbing tints can improve energy performance. ENERGY STAR and NFRC ratings can also help homeowners compare products for the local climate. The written quote should explain the unit, flashing system, structural work, interior finish, and any electrical work for an automated model.
- Rough opening and structural framing. After the work area is protected, the roofer lays out the opening and removes only the necessary roofing materials. The opening is cut to the manufacturer's specifications, then framing is added or adjusted as needed to support the unit and transfer loads safely. This is one reason professional skylight installation is preferable to an improvised roof cut.
- Flashing and waterproofing. The installer builds the water-management details around the opening, including the specified flashing components and underlayment. These layers direct rainwater away from the skylight and into the roof drainage system. Correct flashing is central to preventing leaks on an existing roof.
- Unit mounting and sealing. The skylight is positioned, fastened, and sealed according to the manufacturer's instructions. The roofing crew then replaces or repairs surrounding materials so shingles, tile, or other coverings meet the flashing cleanly. Coordinating this step with roofing expertise helps preserve the roof assembly and its warranty requirements.
- Interior finish. Inside the home, the crew completes the light shaft, drywall, insulation details, and trim. The interior portion may take about half a day per skylight. The full project can range from half a day to three days, depending on roof pitch, shaft depth and shape, weather, and other complexity. The final review checks operation, seals, trim, and cleanup.
Ask the contractor how the proposed unit, flashing kit, framing plan, and roof materials work together. A coordinated inspection and installation process reduces avoidable water-damage risks while giving you a clear plan for the finished room.
Frequently Asked Questions
What is the average cost of installing a skylight?
Skylight installation commonly costs about $900 to $2,300, with an average near $1,500, although the final estimate depends on the unit, roof access, framing, flashing, and interior finishing. A roofer should evaluate the existing roof before quoting the project so structural or waterproofing needs are included.
How long does skylight installation take?
Many installations take between half a day and three days. The timeline depends on the roof pitch, roofing materials, complexity of the opening, interior repairs, and whether electrical controls are needed. Your contractor should explain the expected schedule after inspecting the roof and proposed location.
Can you install a skylight on an existing roof?
Yes. A professional can install a new skylight on an existing roof by planning the location. The process creates a properly framed rough opening and integrates the unit with the roof using the correct flashing and seal. The roof structure and attic ventilation should be checked first to protect against leaks.
Does skylight installation require professional help?
Professional help is recommended because the work can affect roof framing, weatherproofing, and the interior ceiling. Incorrect flashing or sealing can allow water into the home, while an improperly sized opening can compromise structural integrity. A qualified roofing contractor can confirm the roof and select a unit suited to the Texas climate.
Ready to Plan Your Skylight Installation?
A thoughtful plan can help you choose the right skylight, placement, and installation approach for your Texas home. When you are ready to review the project, request a free roof inspection and detailed estimate through Elevation Roofing & Restoration, or call (832) 271-1726. Our team can help you take the next step with a clear understanding of the work involved.