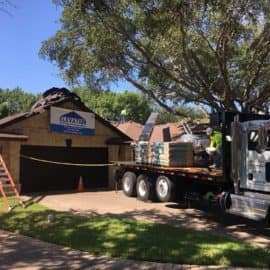
Replacing a roof is one of the larger investments a Texas homeowner ever makes, yet most people have never watched the work happen and have no idea what a single day on the job actually involves. That uncertainty is where the stress comes from. When you understand the roof installation process step by step, the project stops feeling like a gamble and starts feeling like a series of predictable, manageable stages.
This guide walks through exactly what happens during a professional roof installation, from the first phone call to the final magnetic sweep of your driveway. It's written for homeowners across Greater Houston and the Austin metro, where the same roof has to stand up to scorching UV, sudden hail, Gulf Coast wind, and the occasional hard freeze. Knowing the process also helps you spot a cut corner before it becomes a leak.
Stage 1: Inspection and Assessment
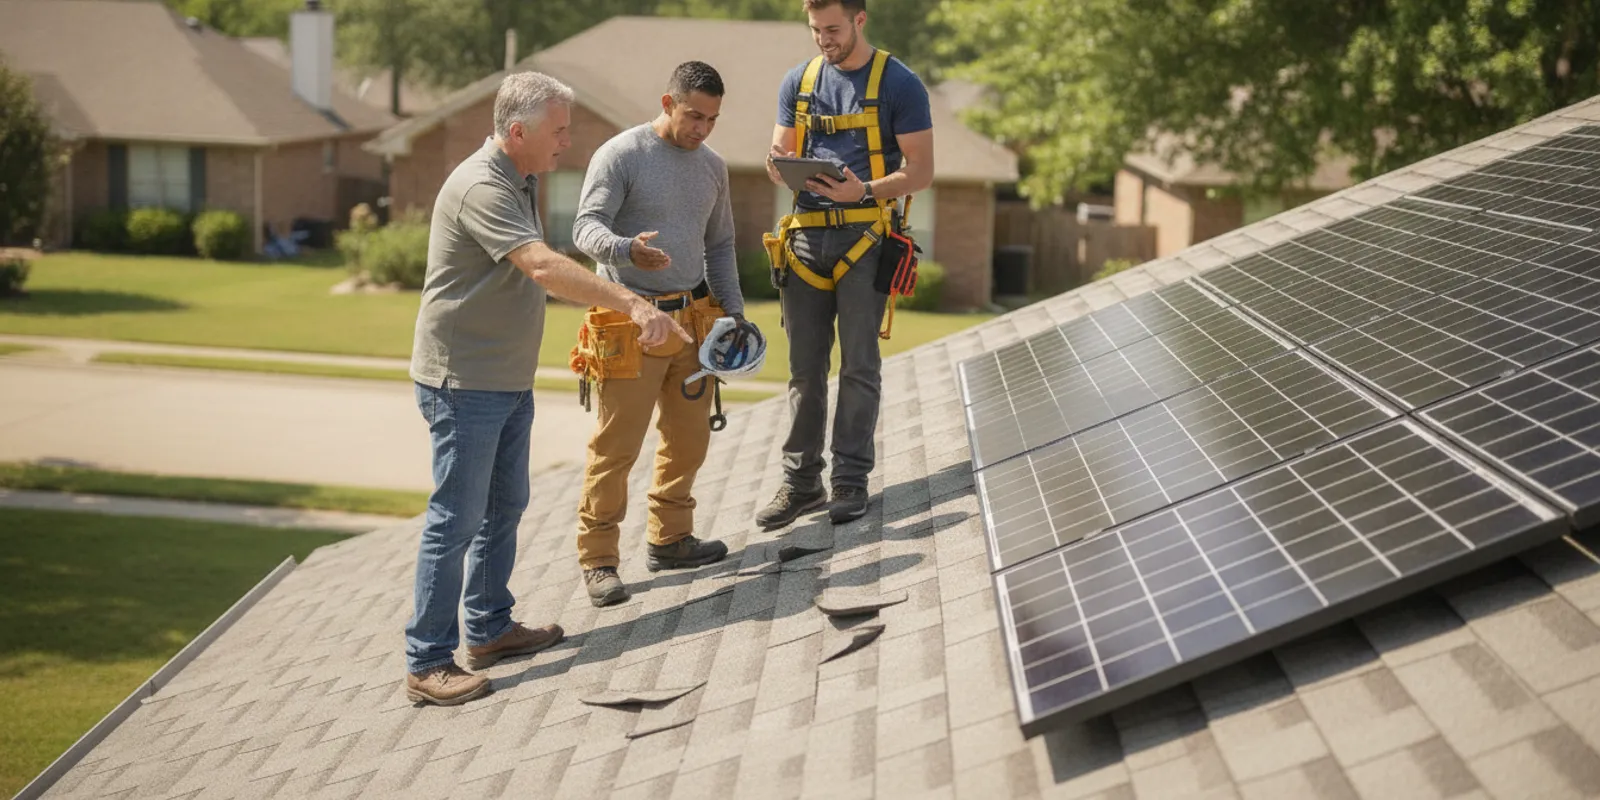
Every sound installation begins with an honest look at what's already there. A thorough roof inspection does more than confirm you need a new roof. It uncovers the underlying causes of any damage, evaluates the condition of the decking and flashing, and flags problems that would otherwise get sealed under fresh shingles and forgotten.
During this stage a roofer examines:
- Shingle wear, granule loss, hail bruising, and wind creasing
- Flashing around chimneys, vents, walls, and valleys, where most leaks start
- Signs of moisture intrusion, soft decking, or attic ventilation problems
- The overall slope, layout, and access points that shape the work plan
Elevation Roofing & Restoration offers this as a free roof inspection (a $399 value), and we document what we find with photos so you see the real condition of your roof rather than taking anyone's word for it. If storm or hail damage is involved, this is also where we identify what an insurance adjuster will want to see.
Stage 2: Estimate, Materials, and Planning
Once the assessment is complete, the next step is turning findings into a clear plan. A quality contractor presents a transparent, no-obligation estimate that spells out the scope of work, the materials, and the cost, with no surprises buried in fine print.
This is also where you choose your roofing system. The right material depends on your home's slope, your budget, and how long you intend to stay. We walk homeowners through the full range of roof types, including:
- Asphalt shingles with high wind ratings and UV-resistant granules, the practical choice for most Houston and Austin homes
- Metal panels that reflect heat and shrug off hail for decades
- Tile and slate for longevity and architectural character
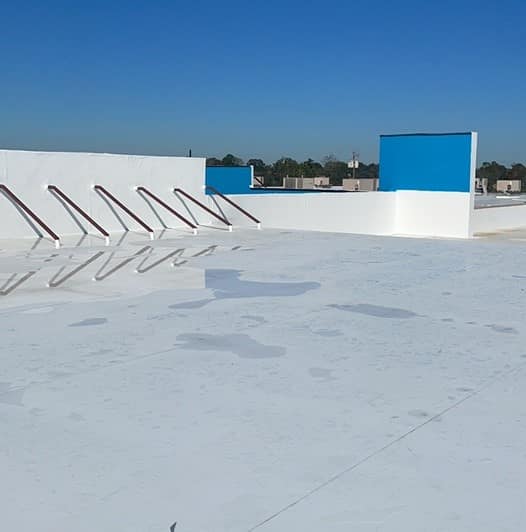
- Flat and low-slope systems like TPO, modified bitumen, and built-up membranes for the sections steep-slope shingles can't protect
As a GAF Preferred Contractor offering GAF lifetime systems, we can also explain how warranty coverage ties to the materials and the install. If budget is a concern, ask about financing and try our roofing calculator to ballpark the scope before you commit.
Stage 3: Preparation and Protection
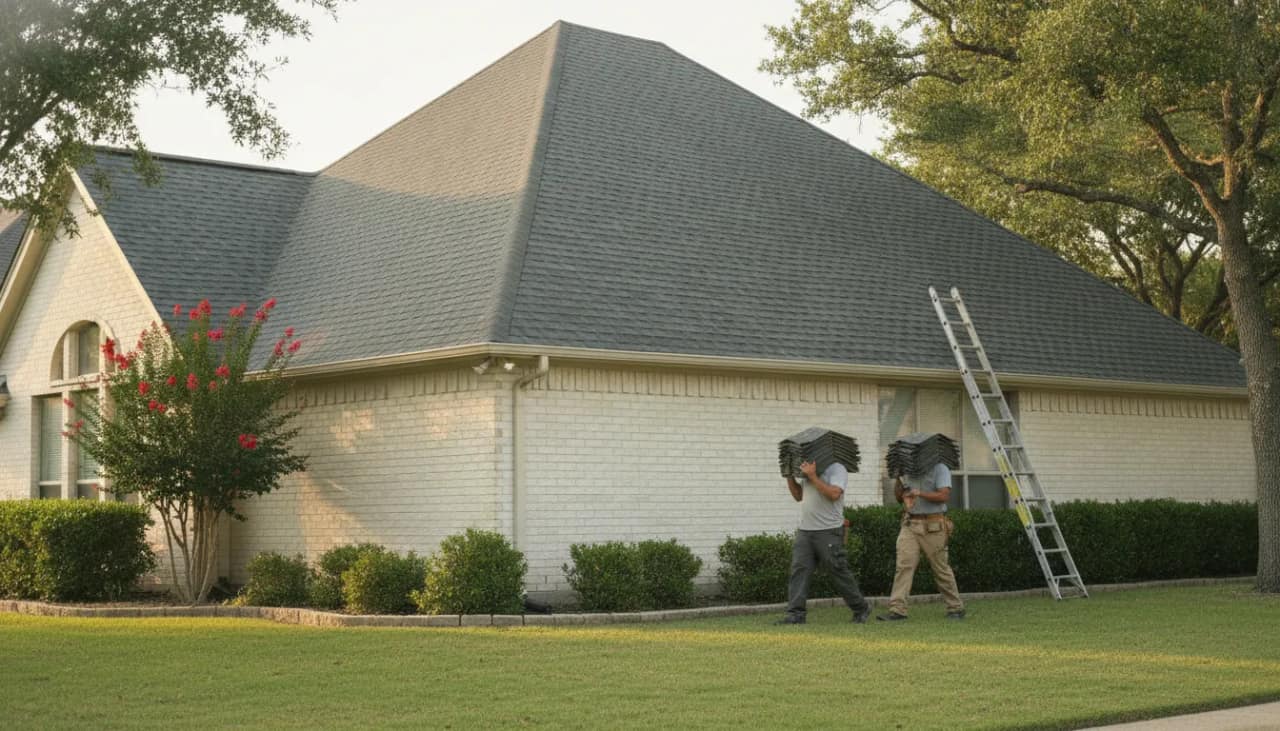
On the morning of installation, the crew protects everything that isn't the roof before a single old shingle comes off. Tarps and plywood shield landscaping, siding, windows, and AC units. Vehicles are moved clear of the drip line. Magnetic tools are staged for the cleanup that follows.
This prep stage is quiet, but it's a reliable tell. A crew that takes the time to protect your property is the same crew that will take the time to install your roof correctly. Rushing the setup usually means rushing the rest.
Stage 4: Tear-Off and Deck Inspection
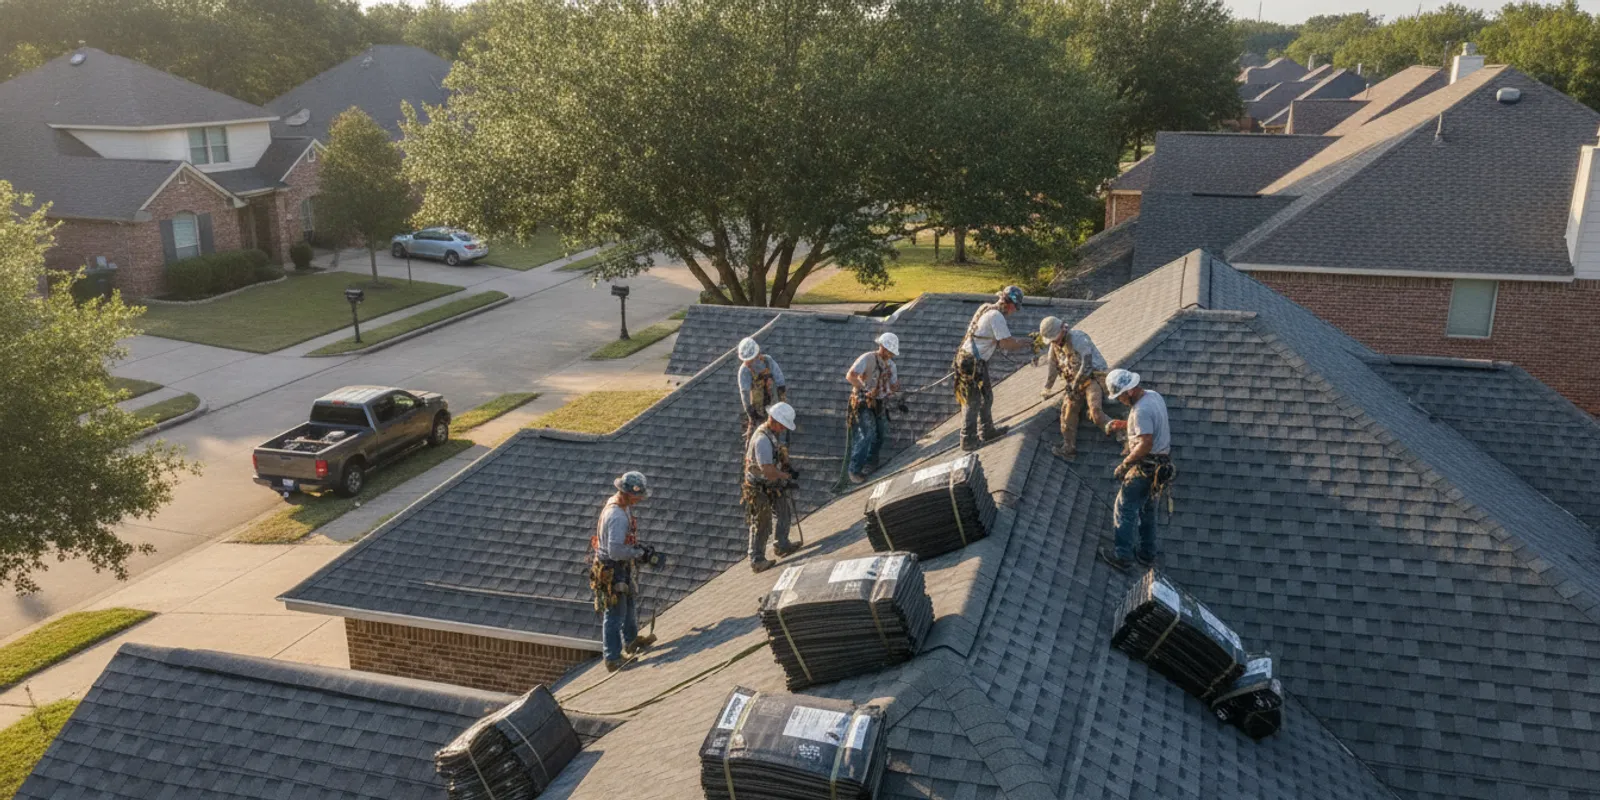
Next comes the tear-off, when the old roofing is stripped down to the bare deck. This is one of the most important stages and one many homeowners don't realize matters. Roofing directly over old shingles hides exactly the problems you're paying to fix.
With the deck exposed, the crew inspects the wood for rot, soft spots, and water damage, replacing any compromised sheathing before anything new goes down. A new roof is only as sound as the surface beneath it, so a clean, solid deck is non-negotiable. This is also the moment to verify and improve attic ventilation while the roof is open.
Stage 5: Underlayment, Flashing, and Installation
Now the new system goes on, and it goes on in layers. Each one does real work:
- Synthetic underlayment creates a secondary water barrier across the whole deck
- Ice-and-water shield seals the vulnerable valleys and penetrations
- Flashing is integrated, layered correctly, and sealed where the roof meets chimneys, walls, and vents
- Shingles or panels are aligned and fastened to the manufacturer's exact specification
This is where a roof earns or loses its rated lifespan. Nail placement, alignment, and sealing determine whether the manufacturer's wind rating actually holds. As a RhinoRoof certified installer with 9+ years in Texas, our crews follow system specifications precisely, which is what keeps those lifetime warranties valid. Because we work fast and clean, a typical residential roof installation is often completed in a single day, limiting your home's exposure to the elements.
Stage 6: Cleanup and Final Inspection
A professional job isn't finished when the last shingle is nailed. The crew runs magnetic rollers across the lawn, driveway, and flower beds to collect stray nails, removes all debris, and leaves the property as clean as they found it.
Then comes the final inspection. A supervisor verifies that every component functions correctly, the flashing is sealed, the ventilation is balanced, and the finished roof meets both manufacturer and workmanship standards. We back the completed work with a 100% satisfaction guarantee and a 5-star track record, so the final walkthrough is a confirmation, not a formality.
What Happens After Installation
A new roof is the start of a relationship, not the end of one. Texas weather doesn't pause because your shingles are fresh, so a periodic check after major storms is the cheapest insurance you can buy. Light, ongoing roof maintenance protects your investment and keeps your warranty intact, and prompt roof repair after a storm stops small problems from becoming expensive ones. If hail or high wind hits before your roof's time is up, we also work directly with homeowners' insurance on storm damage claims.
Ready to See the Process Firsthand?
The best way to understand the roof installation process is to start it with people who explain every step. Elevation Roofing & Restoration offers a free, no-pressure roof inspection anywhere across Greater Houston and the Austin metro. We'll assess your roof, show you photos of what we find, and lay out your options in plain language. Reach out today to book your inspection and find out exactly what your home needs.