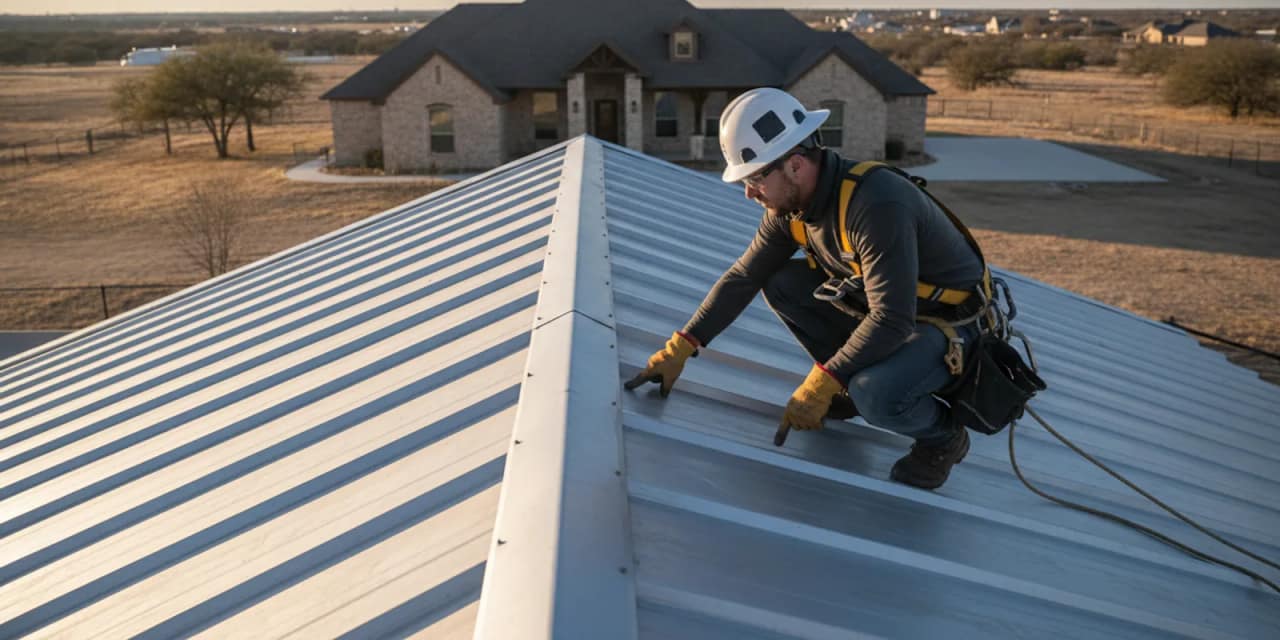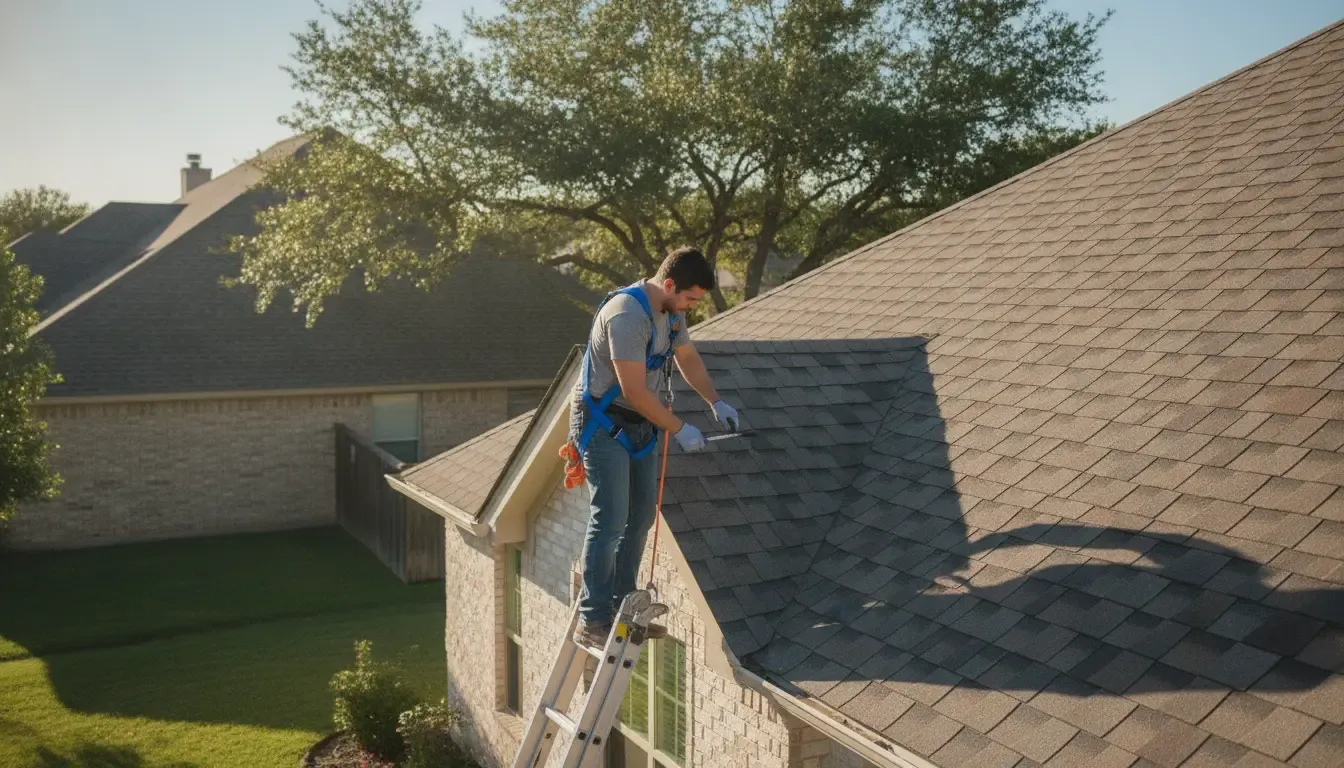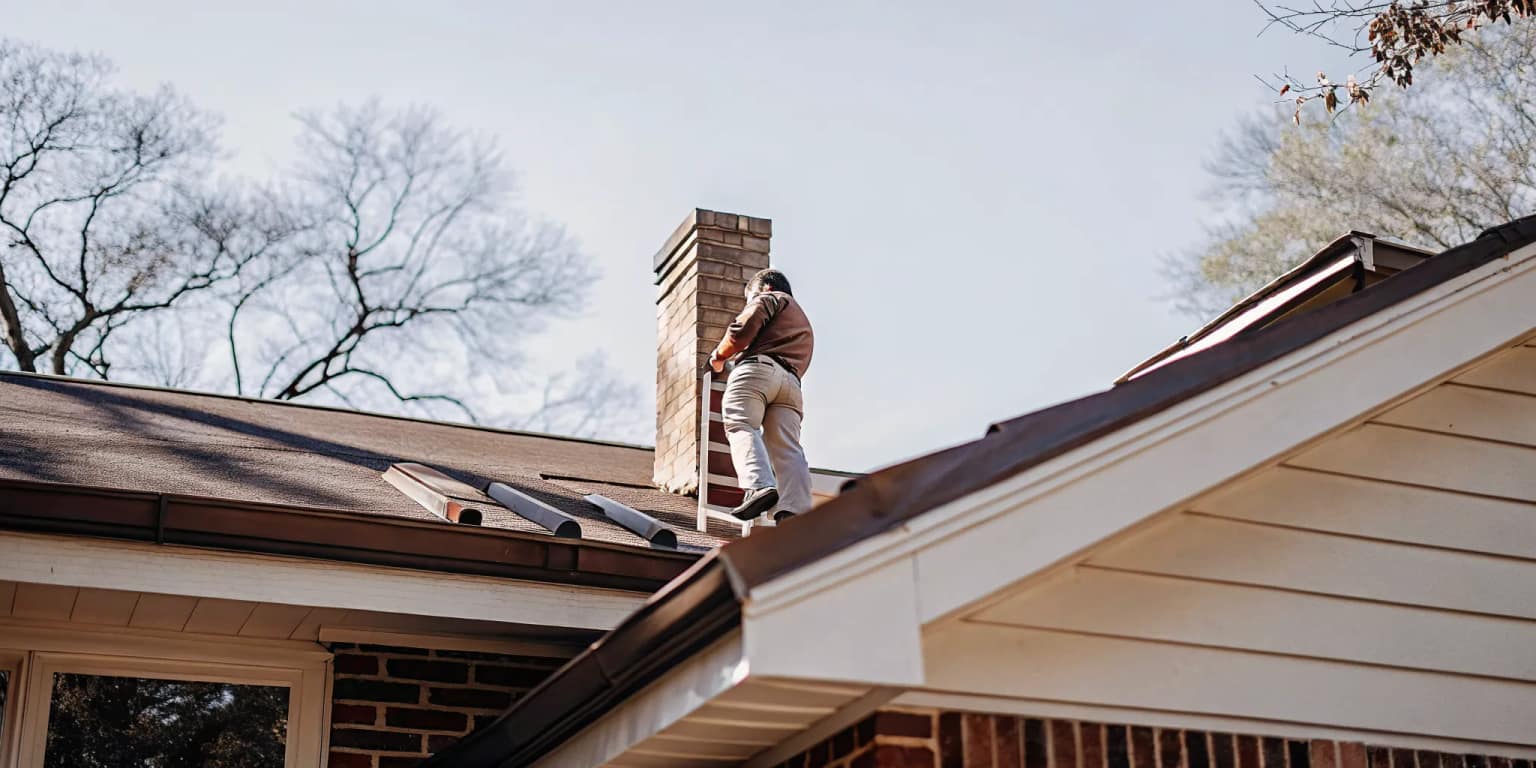
Water does not need a large opening to damage a Texas home. It often enters where shingles meet a chimney, wall, vent, or other vertical surface, then travels beneath roofing materials before stains appear indoors. In Houston and Austin, intense storms make these junctions especially important to monitor.
Call Elevation Roofing & Restoration at (832) 271-1726 for a free roof inspection and estimate.
Roof flashing is the first line of defense at vulnerable roof junctions. It diverts water away from these intersections, helping keep moisture out of the roof deck, walls, and living spaces. Proper installation, compatible materials, and regular inspections all matter because a small flashing problem can become a significant leak.
Understanding how each component works makes it easier to recognize weak points and ask informed questions about repairs. The most common designs serve different roof intersections, from wall lines to chimneys, and each must be installed to shed water rather than trap it.
What Are the Most Common Types of Roof Flashing?
Roof flashing is not one single piece of metal. It is a group of components selected for specific roof edges, wall intersections, and penetrations. Each type helps direct water over the roofing surface instead of allowing it to reach the wall assembly or roof deck.
| Flashing Type | Location | Primary Function |
|---|---|---|
| Step Flashing | Sloped roof meets sidewall | Overlapping pieces direct water onto shingles course by course |
| Base Flashing | Base of vertical surface (wall, curb, chimney) | Lower seal where roof plane meets vertical element |
| Counter Flashing | Above base flashing on masonry or walls | Covers top edge of base flashing to prevent water running behind it |
| Chimney Flashing | Around chimney base at roof penetration | Combination of base and counter flashing for a multi-sided seal |
| Headwall Flashing | Upper edge of roof meets vertical wall | Bent to match roof pitch, prevents water entry at the intersection |
| Sidewall Flashing | Sloping side of wall intersection | Manages runoff along angled wall where it meets the roof plane |
Step flashing
Step flashing protects the places where a sloped roof meets a sidewall. Individual rectangular pieces are installed in overlapping courses, with each piece coordinated with a shingle so water is directed outward and downward. A commonly specified piece is 10 by 8 inches. It is bent in half, leaving 5 inches to extend up the wall surface and 5 inches to lie on the roof deck. This layered arrangement allows the shingles and flashing to work together as a water-shedding barrier. The exact dimensions can vary with the roofing material and exposure, so installation should follow the roofing system specifications. IKO's step-flashing guidance provides additional detail on sizing and placement.
Base and counter flashing
Base flashing is the lower component installed where a vertical surface meets the roof. It is commonly used around walls, curbs, and other roof-to-wall transitions. Counter flashing is installed above it and covers the upper edge of the base flashing. That overlap helps water run over the assembly rather than behind it, where it could reach the wall or roof structure. Counter flashing may be cut into masonry, secured to a wall, or integrated with another vertical surface, depending on the location and construction.
Chimney flashing
Chimney flashing seals the vulnerable gap between a chimney and the surrounding roofing. Because a chimney has several sides and projects through the roof plane, the assembly requires both base flashing and counter flashing. The base component directs water around the chimney, while the counter component covers and protects the upper edge of that base. A gap, loose section, or poorly integrated joint can give stormwater a path into the roof system.
Headwall and sidewall flashing
Headwall flashing is used where the upper edge of a roof meets a vertical wall. It is often bent to approximately 120 degrees to match the roof-to-wall angle, although the finished shape depends on the roof pitch and building details. Sidewall flashing serves the corresponding condition along the sloping sides of a wall intersection, often using step flashing to manage runoff course by course. These details must be integrated with the wall cladding so water cannot travel behind the exterior surface.
Because flashing works at the points most exposed to runoff and movement, its condition should be part of regular roof maintenance, not an afterthought after a ceiling stain appears.
How Does Roof Flashing Protect Your Home from Water Damage?
Roof flashing is the first line of defense where roofing meets a wall or another vertical surface. Instead of allowing rainwater to collect at these vulnerable junctions, properly installed metal flashing redirects it onto the roof surface and into the drainage path. This protection is especially important around roof-wall intersections, chimneys, vents, and skylights, where small installation gaps can become active leak paths.
How does flashing protect roof-wall intersections?
At a roof-wall intersection, step flashing uses individual rectangular pieces that overlap one another as they rise along the wall and sit beneath successive shingles. Each piece covers the joint below it, creating a layered, watertight barrier that guides water away from the wall. A typical step-flashing piece is 10 inches long, bent in half so approximately 5 inches extend up the wall and 5 inches rest on the roof deck. See the installation details from IKO.
This junction requires careful installation because water can otherwise run behind exterior cladding and into the structure. Headwall and sidewall flashing must fit the roof angle and connect correctly with the wall assembly. Common flashing flange sizes are 4 by 5 inches, but the appropriate configuration depends on the roof and wall details. A roofing professional should also coordinate the flashing with ice and water barrier systems for added protection in vulnerable areas.
How does flashing seal chimneys, vents, and skylights?
Penetrations interrupt the roof's water-shedding surface, so flashing forms a controlled transition around them. Chimneys commonly use base flashing at the lower edge and counter flashing above it. Counter flashing shields the top of the base flashing, helping water flow over the assembly rather than behind it. Similar principles apply around vents and skylights, where flashing must integrate with surrounding roofing materials and the building components below.
The EPA's moisture-control guidance emphasizes that roof assemblies must be properly designed, constructed, and maintained to control liquid water. Flashing is one part of that larger system, not a substitute for sound shingles, underlayment, or drainage. When flashing is bent, separated, or installed out of sequence, water can reach the roof deck, wall cavity, or interior finishes before a leak is visible.
Common Causes of Roof Flashing Failure
Roof flashing can fail for several reasons, and the problem is often connected to a small detail at a roof-to-wall, chimney, or vent intersection. When that detail is missed during construction or installation, water may find a path into the roof assembly. In many cases, the first visible warning is not a roof leak but a water stain on an interior ceiling or wall.
Improper installation
Improper installation is a leading cause of roof leaks, particularly in storm-prone areas such as Texas. Flashing must be fitted to the intersection, overlapped correctly, and integrated with the surrounding roofing and wall materials. If it is bent incorrectly, fastened poorly, or installed without adequate protection at the joint. Rainwater can move behind the flashing instead of flowing safely away from the structure.
Small construction details can have outsized consequences. The National Roofing Contractors Association notes that details overlooked during design and construction can create significant problems later. A narrow gap, incomplete overlap, or poorly sealed edge may not cause an immediate leak, but repeated exposure can gradually damage the roof deck and supporting structure.
Weather exposure and physical damage
Texas roofs face intense heat, seasonal storms, hail, and wind-driven rain. Repeated heating and cooling can cause metal flashing to expand and contract. Over time, that movement can stress seams, fasteners, and sealant. Severe weather can add direct damage when hail strikes exposed metal or windblown debris hits a vulnerable intersection.
Flashing can also deteriorate from general weather exposure, physical impact, or poor installation. After a major storm, visible roof damage is not the only concern. Flashing around walls, chimneys, skylights, and vents should be checked because a displaced or dented piece may allow water to enter during the next rainfall.
Age and sealant deterioration
Sealants are not permanent. As they age, they may dry out, crack, shrink, or separate from the metal and adjacent roofing materials. Once the sealant no longer closes a vulnerable joint, water can work beneath the flashing. Because these failures are often hidden beneath shingles, siding, or trim, they may go unnoticed until interior damage appears.
Regular inspections can catch compromised flashing before a small defect becomes structural damage. If you notice ceiling stains, damp wall areas, or visible separation around a roof penetration, arrange an evaluation and consider professional roof repair services before the next Texas storm exposes the problem further.
How to Inspect Your Roof Flashing for Damage
A careful inspection can reveal compromised flashing before a small opening becomes interior water damage. Roof flashing requires regular inspection to continue providing a watertight barrier, and preventive maintenance should include checking both the metal and its sealant. If you are not comfortable working near roof edges, inspect from the ground and attic, then arrange a professional evaluation.
-
Start with a visual exterior inspection
Use binoculars from the ground or inspect accessible areas only from a stable, safe position. Focus on roof-wall intersections, chimneys, vents, skylights, and other penetrations. Look for visible gaps between the flashing and the wall, rust spots on metal, cracked or missing sealant, and flashing pieces that have separated or pulled away. Also note lifted edges, bent sections, or areas where water could run behind the flashing instead of over it. These details can indicate that the flashing no longer directs water away from vulnerable junctions.
-
Check the attic and interior ceilings
After the exterior review, examine the attic beneath flashing locations when conditions are safe. Look for brown or yellow water stains, damp insulation near roof penetrations, and daylight visible through gaps in the roof assembly. Check nearby ceilings and upper walls for discoloration, bubbling paint, or recurring damp spots. Compromised flashing often goes unnoticed until water damage is visible inside the home, so interior evidence deserves prompt attention even when the exterior problem appears minor.
-
Inspect at the right times of year
Schedule a visual check after major storms, particularly when wind, hail, or fallen branches may have moved or damaged metal components. Texas homeowners should also inspect before the spring rain season, when unresolved gaps and failed sealant may be tested by repeated rainfall. Add inspecting your roof flashing to your broader maintenance routine rather than waiting for a leak.
Regular inspections can identify potential failure points before they lead to significant structural or interior damage. If you find rust, separation, staining, or damp insulation, avoid disturbing the flashing and have a roofing professional assess the condition and recommend the appropriate repair.
Why Roof Flashing Maintenance Matters for Texas Homeowners
Texas roofs face conditions that can wear down flashing faster than many homeowners realize. Scorching summer heat, sudden hail storms, and periods of heavy rainfall repeatedly expose roof junctions to stress. Over time, temperature cycling causes metal and surrounding roofing materials to expand and contract. That movement can loosen fasteners, open seams, or separate sealants, creating paths for water to reach the roof deck and wall assembly.
Improper installation is a leading cause of roof leaks in storm-prone Texas. Even durable flashing cannot perform as intended if it is bent incorrectly, poorly integrated with shingles or siding, or left with gaps at a roof-to-wall intersection. A small weakness may remain hidden through dry weather, then allow significant water intrusion during a Houston downpour or an Austin storm. The resulting damage can extend beyond the flashing itself, affecting insulation, decking, interior finishes, and supporting structural components.
Why Material Selection Matters
Metal flashing must be durable and resistant to corrosion for reliable long-term performance. Texas heat, rain, humidity, and changing weather conditions make it important to use materials suited to the local environment. Corroded metal can thin, pit, or lose its ability to shed water, while incompatible materials may accelerate deterioration at contact points. Material suitability is one consideration professionals evaluate when inspecting roof flashing and nearby components. IKO explains why flashing materials should be selected for durability and environmental conditions.
Maintenance Supports Moisture Control
Flashing is part of the complete roof assembly, not an isolated strip of metal. The EPA's moisture-control guidance emphasizes maintaining roof and ceiling assemblies and controlling liquid water to reduce building moisture problems. Routine maintenance should therefore look for:
- Cracked, separated, or shrinking sealant around flashing.
- Loose, bent, rusted, or visibly damaged metal.
- Water stains near walls, chimneys, vents, and ceiling areas.
- Evidence that shingles, siding, or drainage components no longer integrate correctly with the flashing.
Elevation Roofing serves homeowners in the Houston and Austin markets with thorough inspections that assess flashing and other potential failure points before a leak becomes an interior repair. For broader guidance on assessing your roof's condition, review the surrounding roof system rather than waiting for visible water damage.
When to Call a Professional for Roof Flashing Repairs
Some flashing problems are easy to notice from the ground, while others develop beneath shingles, siding, or sealant. Because flashing protects vulnerable roof intersections, prompt attention can help prevent a small opening from becoming a larger leak.
Call Elevation Roofing & Restoration at (832) 271-1726 to schedule a professional roof inspection.
Watch for visible signs of failure
Contact a roofing professional if you see gaps, separation, lifted metal, or cracked sealant around chimneys, walls, vents, skylights, or other roof penetrations. Rust and corrosion are also warning signs, especially when they affect the metal's ability to direct water away from the roof junction. Do not assume a small split is harmless. Water can travel behind flashing before it appears in the living space.
Inside the home, look for water stains on ceilings or walls near roof penetrations. Peeling paint, damp drywall, musty odors, or recurring stains after rain can indicate that water is entering through a compromised flashing detail. These symptoms do not identify the exact source on their own, so an inspection is safer than applying more sealant over the visible area.
Schedule an inspection after severe weather
Major storms and hail events can loosen, bend, or damage flashing even when shingles look intact. A professional inspection can assess the entire roof system and identify compromised flashing or other failure points before a leak occurs. Preventive maintenance should also include checking flashing, metal components, and sealant for cracks or separation, as outlined in Elevation Roofing's preventive roof maintenance checklist.
Delaying repairs can allow water intrusion to damage the roof deck and supporting structure, leading to more extensive and expensive work. If you need a qualified assessment or repairs, review Elevation Roofing's professional roof repair services and arrange an inspection before the next storm exposes the problem.
Frequently Asked Questions
What is roof flashing, and where is it installed?
Roof flashing is a moisture-control material, usually metal, installed where roofing meets a wall, chimney, vent, skylight, or another roof surface. It directs water away from these vulnerable intersections instead of allowing runoff to enter seams or the roof structure.
What are the most common types of flashing?
Common types include step flashing along sidewalls, headwall flashing where a roof meets an upper wall. Base and counter flashing around chimneys, and flashing around penetrations such as vents. Step flashing uses overlapping pieces so water is guided down the roof rather than behind the wall covering.
What causes flashing to fail?
Flashing may fail because of improper installation, severe weather, physical damage, corrosion, or deteriorated sealant. In Texas, storms and wind can expose small installation problems quickly. A leak may not become visible indoors until moisture has already affected the roof deck or nearby structure.
How can I tell if my flashing needs repair?
Look for lifted or bent metal, cracked sealant, separated joints, rust, missing pieces, or water stains near ceilings and exterior walls. Do not climb onto a steep or wet roof to investigate. A professional inspection can identify compromised flashing before it leads to more extensive damage.
When should a roofer inspect flashing?
Have the flashing checked during routine roof maintenance and after significant storms, especially if you notice a new leak or damaged exterior material. Regular inspections help keep roof junctions watertight and can address small defects before they require structural repairs.
Ready to Schedule a Roof Flashing Inspection?
Proper flashing helps direct water away from vulnerable roof intersections, but hidden damage can be difficult to assess from the ground. Schedule a free roof inspection and estimate with Elevation Roofing & Restoration to review your roof's flashing and identify areas that may need attention.